If you’re a plant lover who’s struggling to keep your greenery hydrated without spending hours watering or wasting resources, wick watering might just become your new best friend. This low-tech, cost-effective method transforms plant care, ensuring your foliage stays lush without constant attention. Whether you’re a home gardener, a frequent traveler worried about your plants during vacations, or simply want a more efficient watering system, wick watering is a game-changer.
This blog will walk you through everything you need to know about wick watering, from understanding how it works to creating your own DIY home irrigation system. We’ll also explore its many benefits, practical applications, and insider tips to optimize your plant care game.
What Is Wick Watering
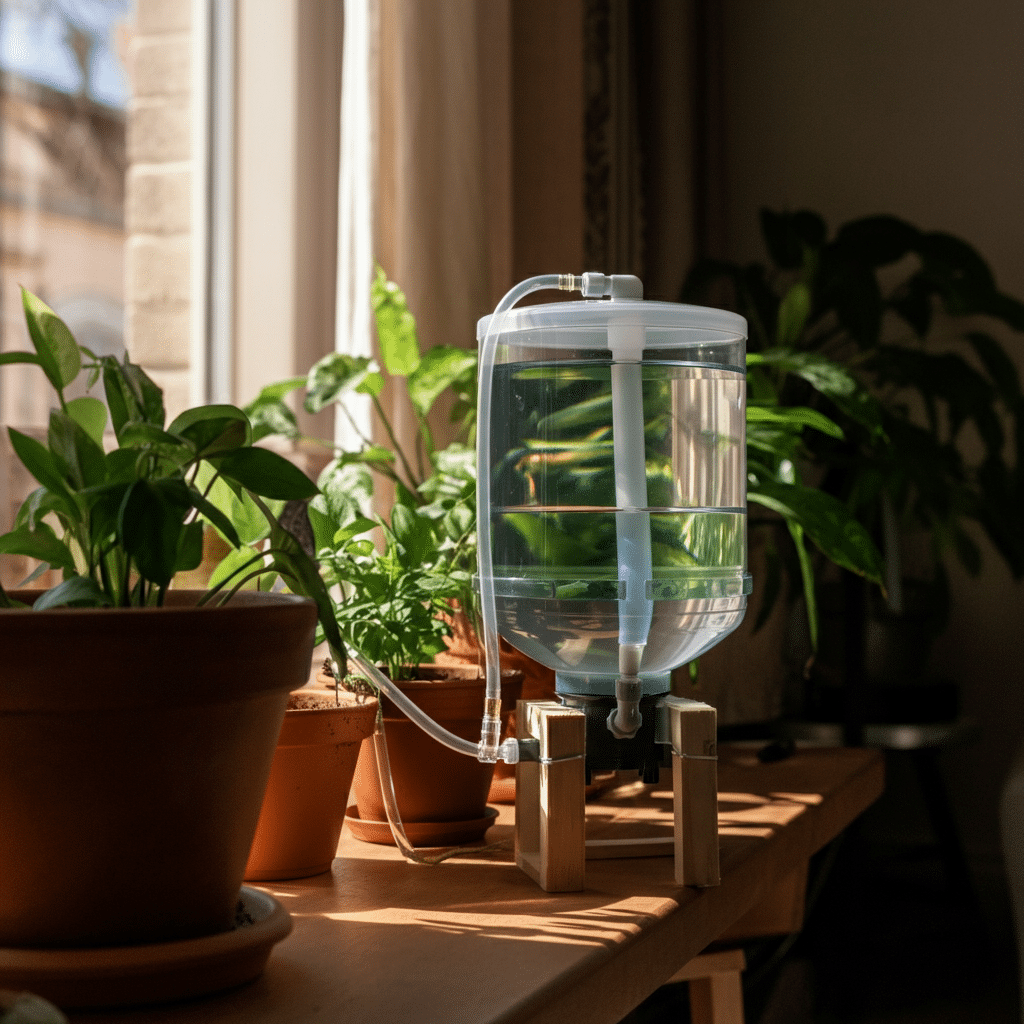
Wick watering, also known as capillary irrigation, uses a simple concept based on capillary action and gravity. By placing a wick (a rope or strip of fabric) between a water reservoir and your plant’s soil, water travels through the wick into the soil, ensuring consistent moisture levels. Essentially, the wick acts as a bridge, delivering water directly to the plant roots.
This method not only automates plant hydration but also allows plants to take in just the amount of water they need, reducing overwatering risks. With minimal materials required, it’s perfect for gardeners looking for simple, cost-effective solutions.
How It Works
Wicks can function in two ways:
- Capillary Flow: Water climbs up the wick against gravity, supplying moisture to the plant. This is ideal for houseplants or containers.
- Gravity Flow: Water flows downward from a raised reservoir into the soil below. This method supports larger systems like in-ground gardens or wicking beds.
No matter the type of wick system, the result is the same – healthy, hydrated plants with much less effort.
The Benefits of Wick Watering
Why should you consider wick watering for your home or outdoor garden? Here are some of its key benefits:
- Low Maintenance: Perfect for those who travel often or don’t have time for daily watering routines.
- Water Conservation: Reduces unnecessary water usage, making it an eco-friendly choice.
- Consistent Hydration: Keeps your soil consistently moist, preventing common plant issues like underwatering or overwatering.
- Cost-Effective: Requires minimal materials, most of which you can find at home.
- Customizable: Works for everything from small potted plants to large outdoor gardens.
Plus, it’s an excellent solution for vacation plant care or beginner gardeners looking to simplify their routine.
Step-by-Step Guide to Creating a DIY Wick Watering System
Creating your own wick watering system is simple and highly adaptable to various gardening setups. Here’s how you can get started:
Step 1: Gather Your Materials
You’ll need:
- A water reservoir (e.g., a plastic bottle, jug, or bucket)
- A wick made from suitable material (like braided nylon rope, polyester strips, or cotton fabric)
- Optional plastic tubing to reduce evaporation (for capillary flow systems)
- A stick or screwdriver for installation
Step 2: Select the Right Wick
Your wick’s material is crucial. Nylon or polyester braided ropes are durable and resistant to mold, while cotton wicks work well for smaller setups. Avoid polypropylene or mixed-fiber ropes, as they don’t wick water efficiently.
Test your wick by dipping one end into colored water. The speed and height of water absorption will help you choose the right material for your system.
Step 3: Prepare Your Reservoir
For small systems, drill a hole in the reservoir near its base and insert the wick securely. For larger setups, such as garden beds, attach tubing if needed and control water flow with a hose clamp.
Step 4: Set Up Your Wick System
- For Potted Plants: Insert one end of the wick into the plant’s soil and the other into the water reservoir.
- For Garden Beds: Position the wick beneath the plant roots during planting, ensuring enough soil covers the wick for proper hydration.
Step 5: Adjust and Monitor
Check moisture levels in your soil regularly. If using a gravity-fed system, adjust the hose clamp to control water flow. Refill the reservoir as needed, and replace the wick periodically to ensure efficiency.
Voilà! You now have a self-sustaining watering system designed to keep your plants happy and hydrated.
Practical Applications for Wick Watering
The flexibility of wick watering makes it suitable for various plant care scenarios. Here’s how it can be applied:
Indoor Plants
Whether it’s succulents or decorative houseplants, this system ensures consistent moisture without overwatering. Perfect for forgetful plant parents or frequent travelers.
Hanging Baskets
Tired of climbing ladders to water your hanging baskets? Wick watering makes it effortless to maintain the vibrant blooms of your overhead displays.
Outdoor Gardens
Wick systems can support vegetable beds and flower gardens, especially in drought-prone areas where water conservation is essential.
Greenhouses
With its ability to automate watering, wick systems can handle large collections of seedlings, vegetable plants, or ornamental pots in a greenhouse.
Vacation Plant Care
Heading out for a week or two? Leave your worries behind, knowing your wick watering setup will take care of your plants.
Wicking Beds
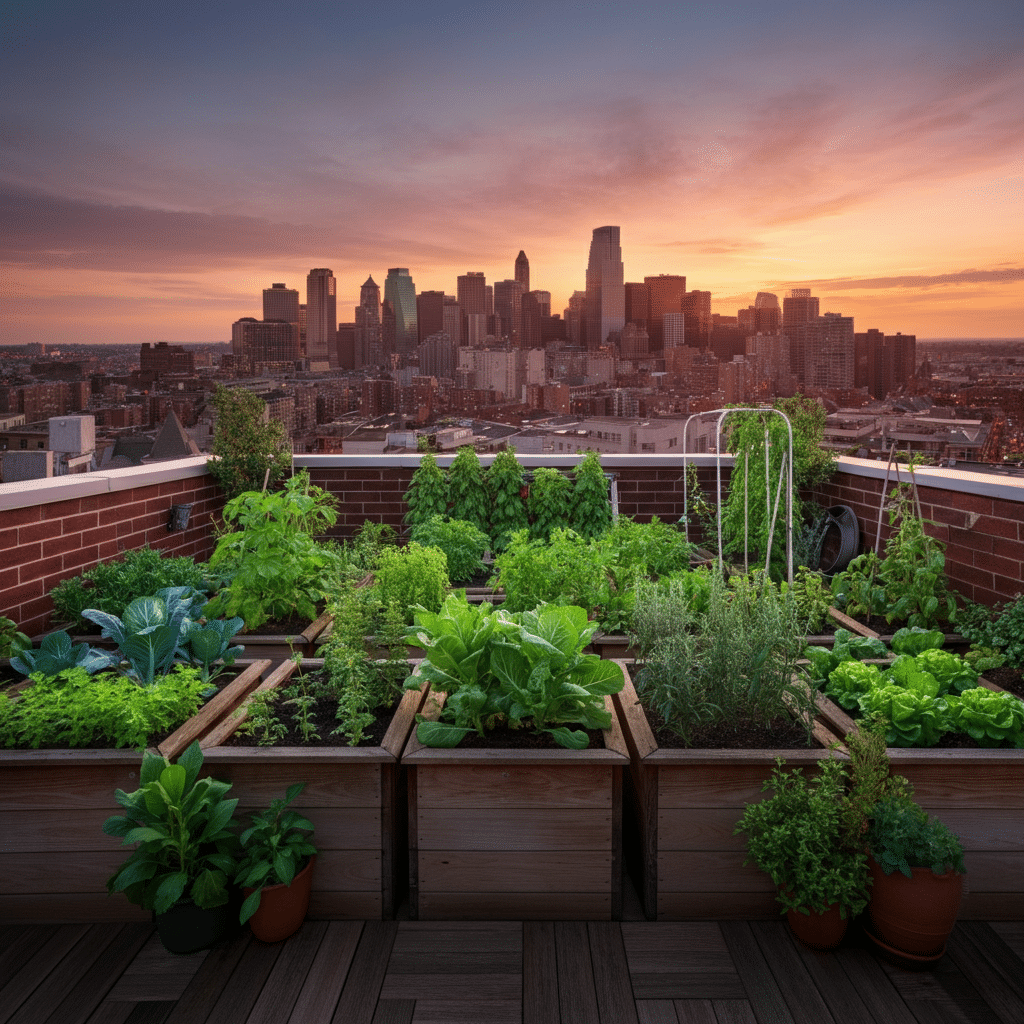
For larger-scale gardens, combine wick watering with soil beds and reservoirs for a more robust self-watering garden system, ideal for sub-irrigation and sustainable growing.
Pro Tips for Wick Watering Success
- Choose the Right Material: Avoid cheap ropes or fabrics that may clog or degrade quickly. Nylon and polyester wicks perform efficiently and are long-lasting.
- Protect Against Evaporation: Use clear plastic tubing to cover wicks, especially for outdoor applications, to minimize water loss.
- Check for Drainage: For potted plants, ensure pots have proper drainage to avoid waterlogging.
- Experiment with Placement: Test the wick placement in your setup to optimize water flow and plant hydration.
- Combine with Rainwater Harvesting: Use rainwater as your reservoir source to maximize sustainability.
Wick Watering for a Greener Future
Wick watering is more than just a DIY irrigation hack; it’s a step towards smarter, low-impact gardening. By conserving water, simplifying plant care, and supporting healthy plant growth, wick systems align with sustainable living practices.
Whether you’re a beginner gardener, an experienced grower, or someone seeking creative eco-friendly solutions, wick watering is a simple yet effective technique that deserves a spot in your plant care toolkit. Best of all, it puts you in control, providing flexibility and peace of mind.
Why not take the leap? Start small with your houseplants or go big with wicking beds. Either way, your plants will thank you.
Happy gardening.


